I first start off with these 30MM Hammered Hoops (I get at Hobby Lobby).
Here you can see the hammered indents around the top one a little better.
You can start with a shuttle loaded and still connected to the ball, but I had a shuttle half full already so I tied a knot to start.
I place the knot behind the center of the top part of the earring(shown best in top picture) holding the earring upside down and backward(the next earring will be upside down and frontward to get a mirror effect-and this earring will be tatted on the backside of the earring, and the other will be tatted on the front side of the earring). I start by wrapping the ring(and covering one of the "tails" of thread. I have the thread on this side of the earring and go around the back side to start to wrap it.
Coming from the backside and catching the thread and pulling it up in back.
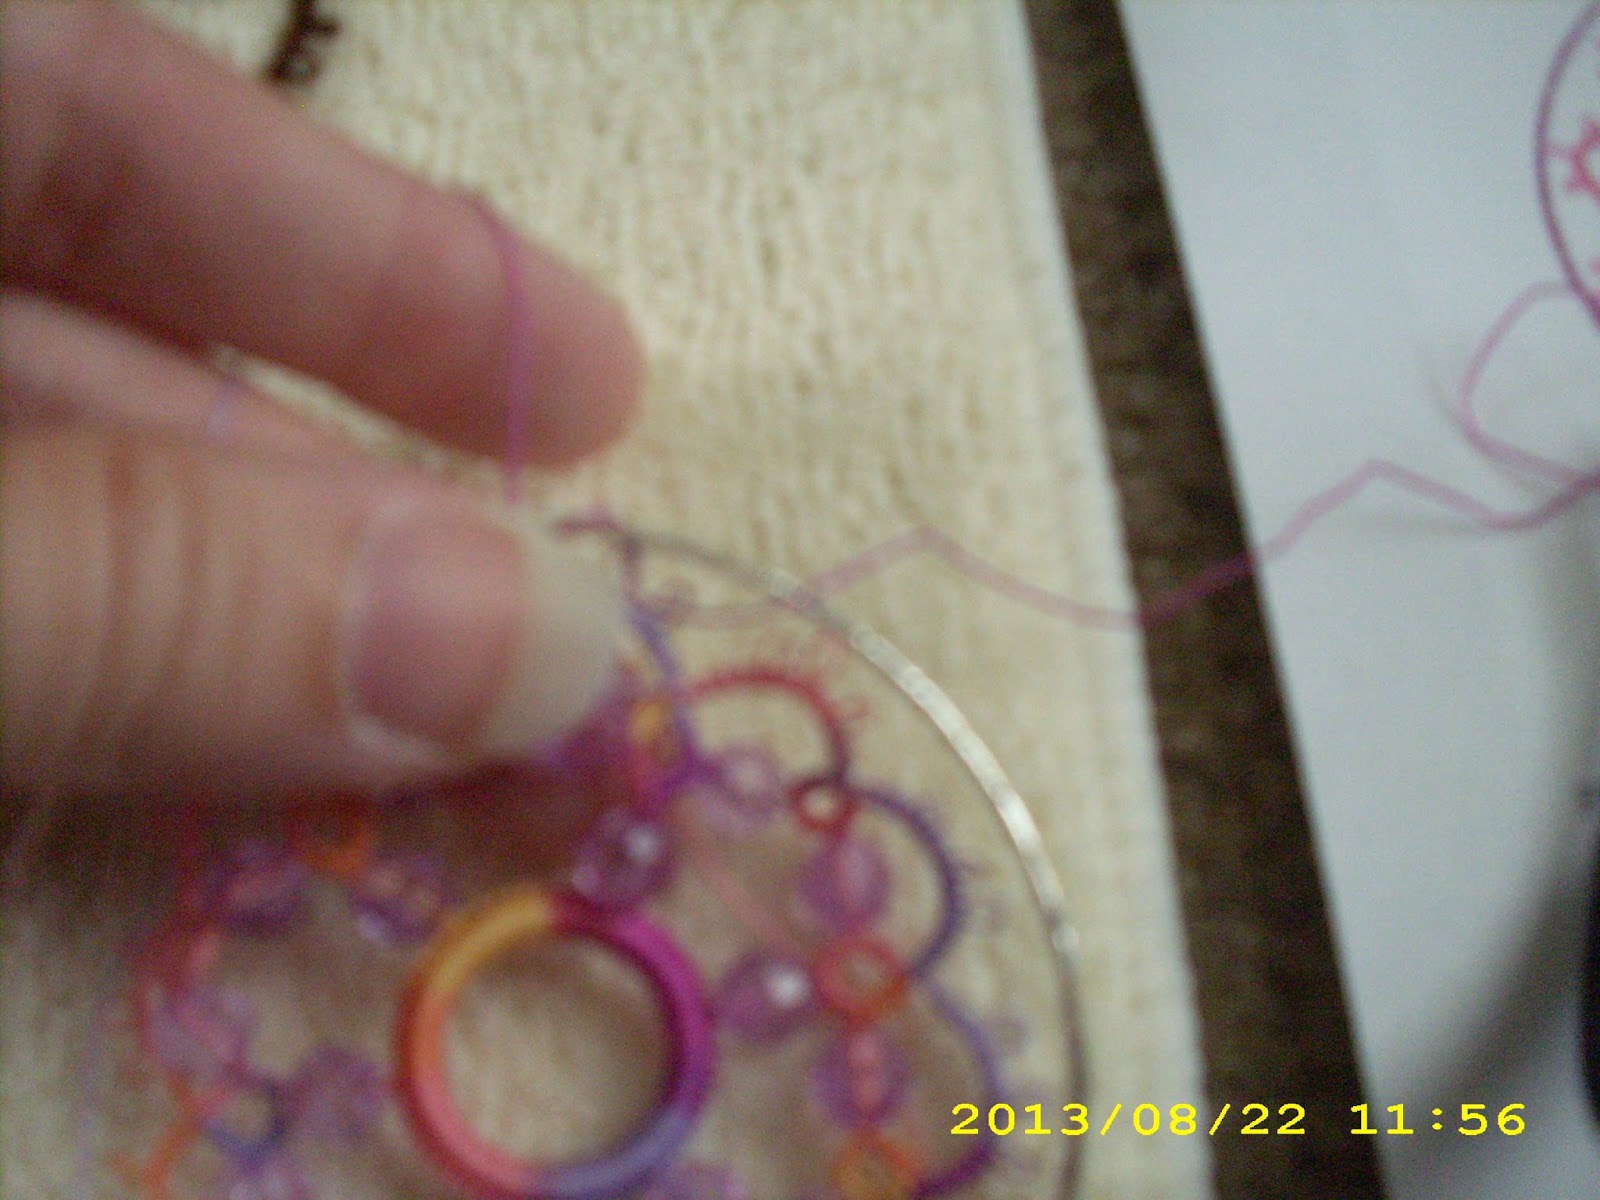
Now, I go to the front side and catch the thread and draw it up.
Sorry the picture isn't very clear. I am trying to show that I am wrapping that "tail" in and then I trim it off after about 4 stitches.
Same here.
I continue covering the hoop up to the first hammered indent. At this point I make a picot.
This picture is a tiny bit clearer on showing the indent.
I try to make a space of thread up next to the hoop to become a picot.
Then I tat 2 ds(easier to move into place without the first one falling apart).
I know it doesn't show well, but there is a tiny picot there.
Here you can slightly see it near the thread.
Continue wrapping(or covering) the hoop all the way around making small picots at each indent.
When I reach the top I start making a chain going in the same direction I just wrapped the hoop in.
I estimate how many ds I will need by tatting(usually 4 or 5) and sliding them snuggly next to each other and seeing if that is about half way between the start of that chain and the first picot, if it is I tat a small picot and put the same amount of ds after the picot and join to the picot on the hoop.
Here I am making the first join to the hoop.
Pull the shuttle thread through the first picot on the hoop and ...
make a lock join by putting the shuttle through the loop and slowly closing it.
Continue this all the way around the hoop.
When you get around toward the top you don't go to the center, you join to the picot of the first chain(so you may have a few extra ds than you would any other time).
Here's a small video that hopefully shows how I hold that hoop and tat. You may have to find your own way to hold it. (Apparently this video doesn't work , but it's showing a little bit of what I wanted to get across). Sorry it's so fast. I have no clue why it's doing this.
When you get to the center you just cut and tie. I add a dab of fabric glue to knot and let it dry and then I trim the ends.
Here's the front.
Next, I take a feather charm and string it onto the shuttle and tat a chain(spiral, lock chain, or zig zag) from the charm out....
This is not a very long chain, usually about 1 inch. I use this to hold the charms on the dream catcher.
Sorry, this picture isn't good either, but I think you can see, I hold the little chain with the charm against the hoop to see it it's long enough...
if it is, I cut the threads(a bit long) and pull them through the bottom hold on the top piece of the earring till the chain is through the hole.
I pull it through from front to back, and then....
I pull it back to the front around the metal piece. I usually have the charm up a little and then add the other to hang a little lower than the first.
I string it on one thread....
then I put the other thread through the other way....
Pull the strings up snug, and tie them in the front, then around the back and a second time in back to knot them. Add a dab of fabric glue, let dry and trim.
When the glue dries I will add a scanned picture of the completed dreamcatcher.
And hopefully next year I will have a camera that can take clearer pictures. :)