A good friend of mine suggested that I use my time
during Tollway Tatters to tat items for craft shows.
Fantastic idea and I have been doing that.
I started with Christmas tree earrings in variegated
threads for a change and silver and gold star beads
for the tops. Several people say they like the
variegated threads better than the solid green. ;)
Next, I started on some crosses.
This last month's Tollway Tatters Online Gathering
seemed to be a very busy day for most of us. As we
came online most of us announced that we couldn't
stay long, for many different reasons. ;) There were
six tatters on when I left(that included me).
All I got done in my 1/2 hour was one arm of a
cross, but I feel accomplished!! Then we went and
moved a 93yr. old. ;)
All my tatting time in between life so far has been on
my collar necklace. I am hoping and praying to have
it done by summer!! ;)
Below is a close-up to show all the tiny beads.
In between each section are tiny clear beads.
And to show my shuttle with the beads.
And, though it's not tatting I have to show
you what I did.
One of my senior friends gifted me a light-up
green garland cross which someone made
for her. She had to move to a nursing home
and didn't think she could bring it.
I have been using at the church group we
have each Christmas for a couple of years
now.
Well, I got her a wall Christmas tree which
lit up and she loved it so much and was sad
when I had to take it down.
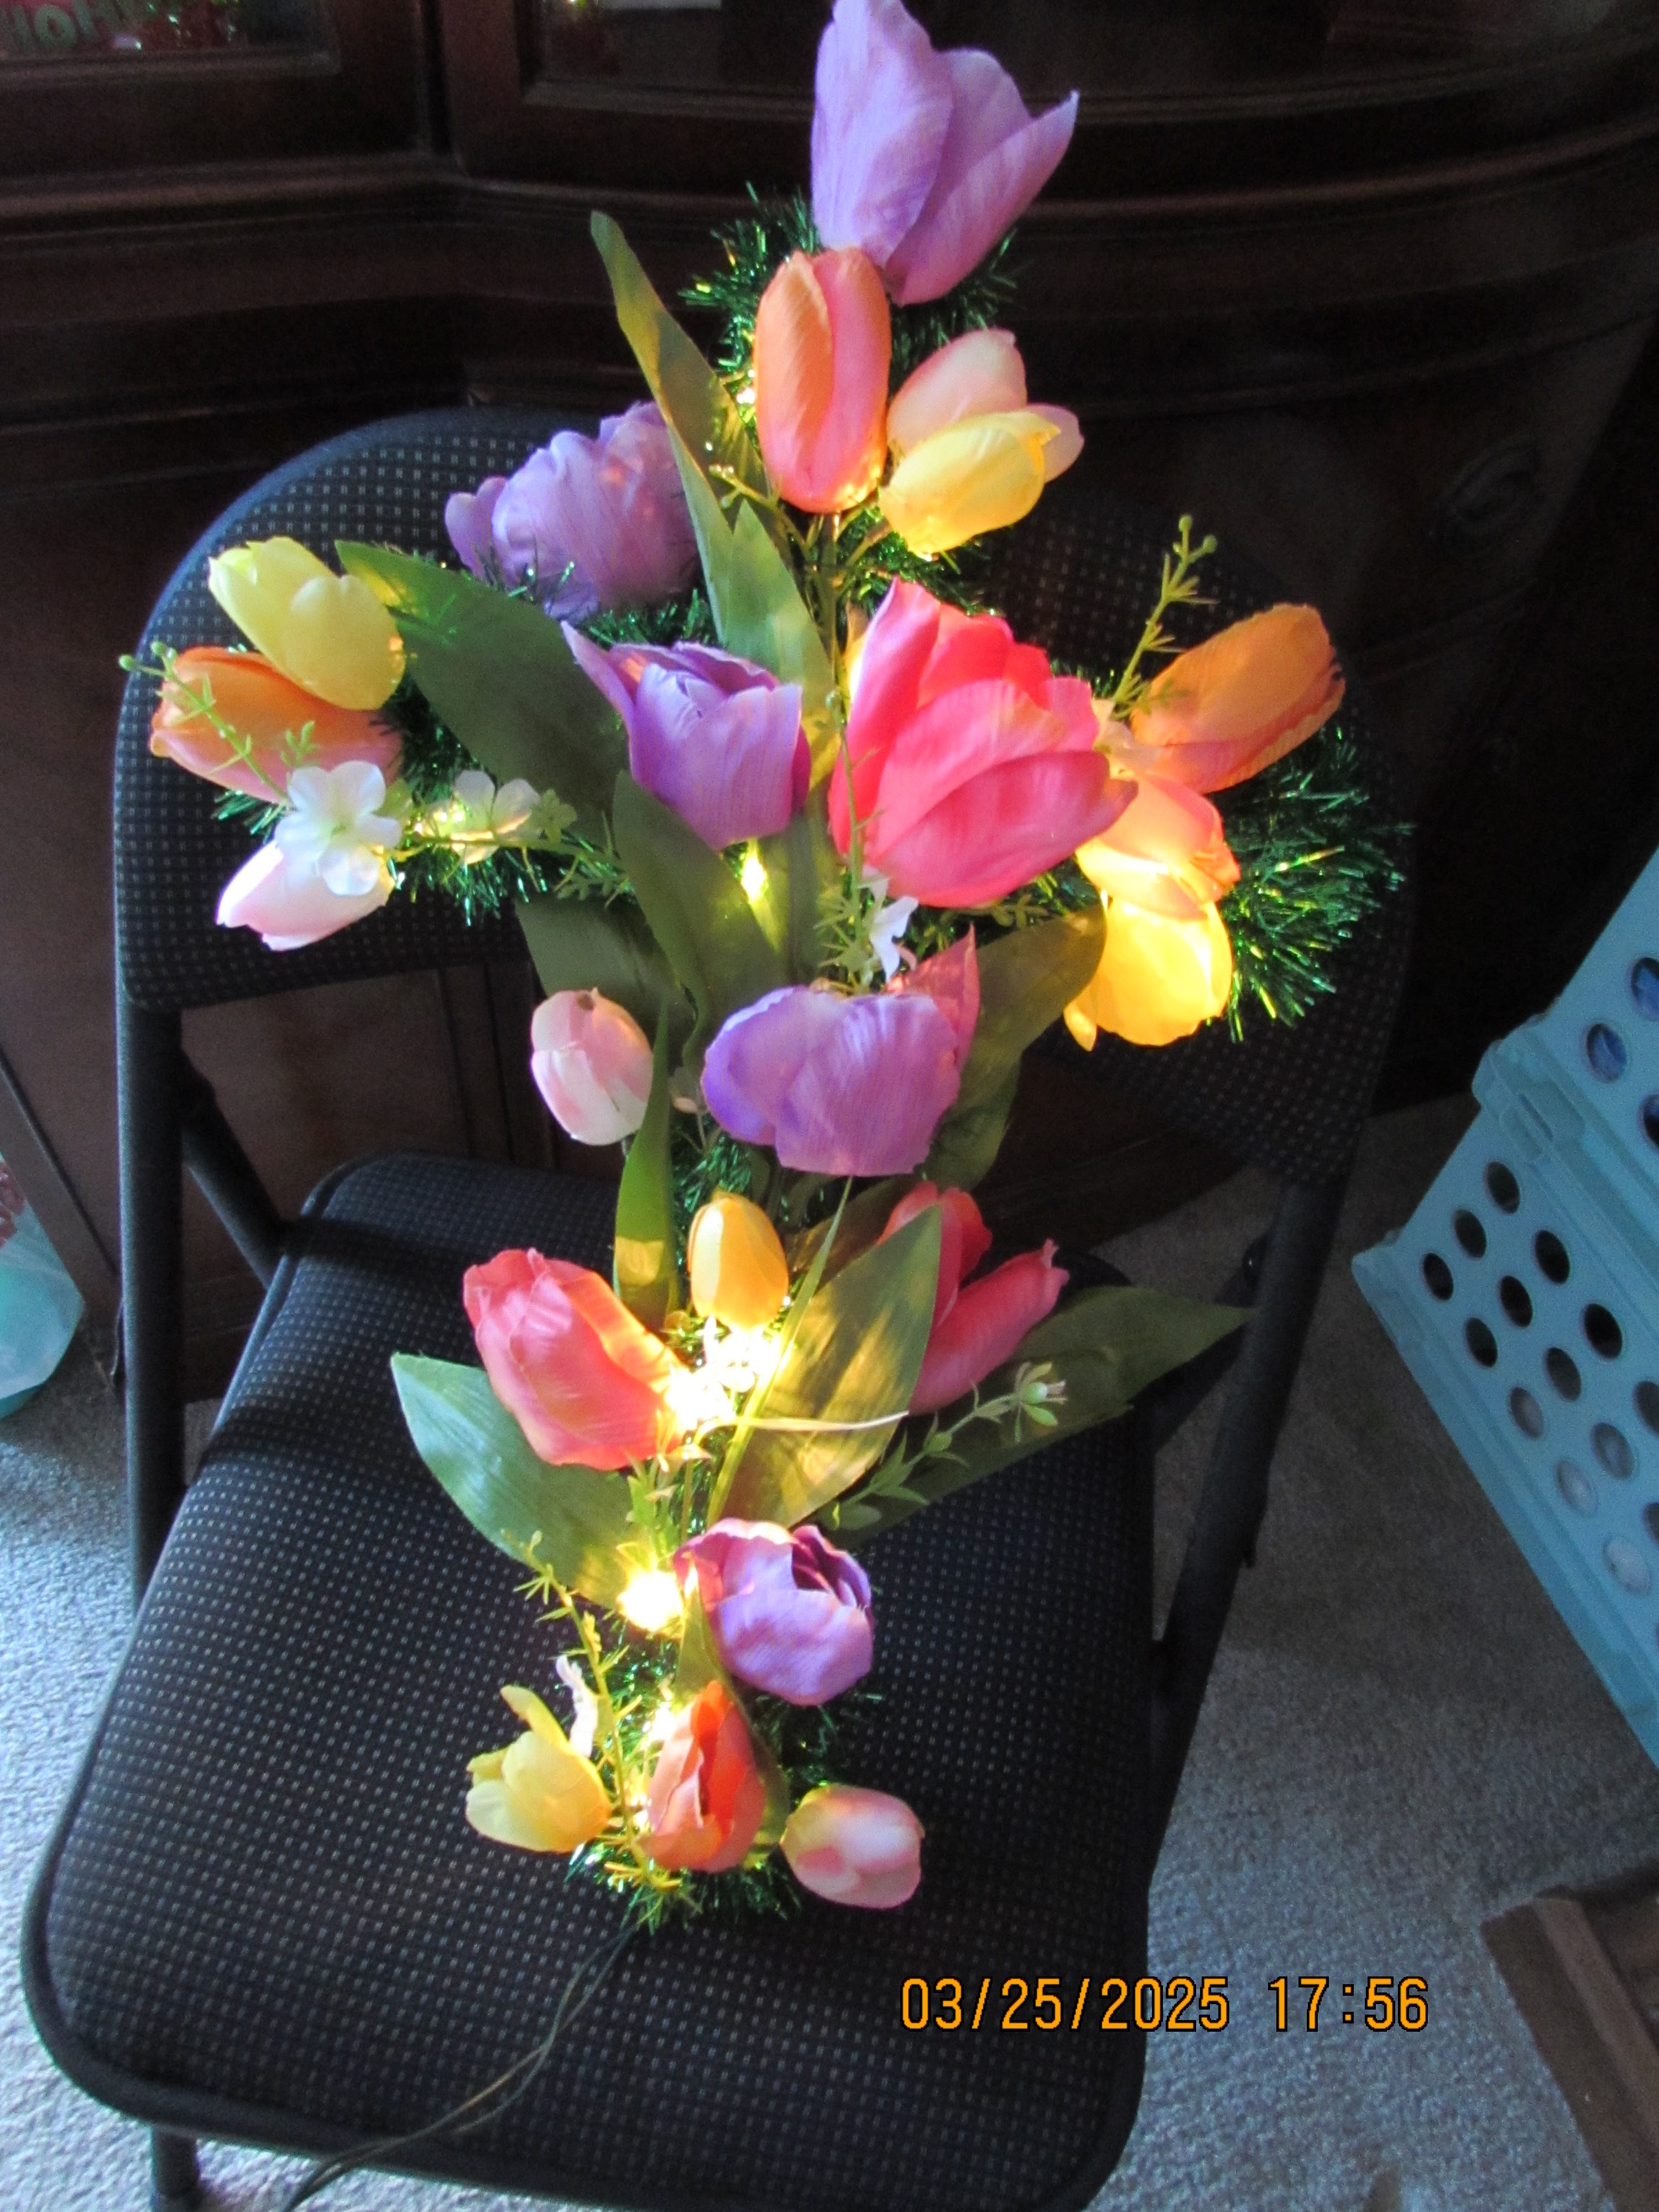
So...I got thinking
and decided I would "spruce" up her cross
with flowers. Well, our 101yr. old said it had
to be tulips(and you don't argue with someone
of that age!!). So, this is what has become of
that cross. I am sure she will love it!!! :)

Below is how it looks lit up during the day.

Below is how it looks lit up during the night.
Have a wonderful day and I hope you
(and I) get some tatting in!!! :)